Ableton Live
With the Ableton Live plugin, you can start and stop tracks, clips and scenes or change mixer settings in your Ableton Live Set.
Set up Liveset
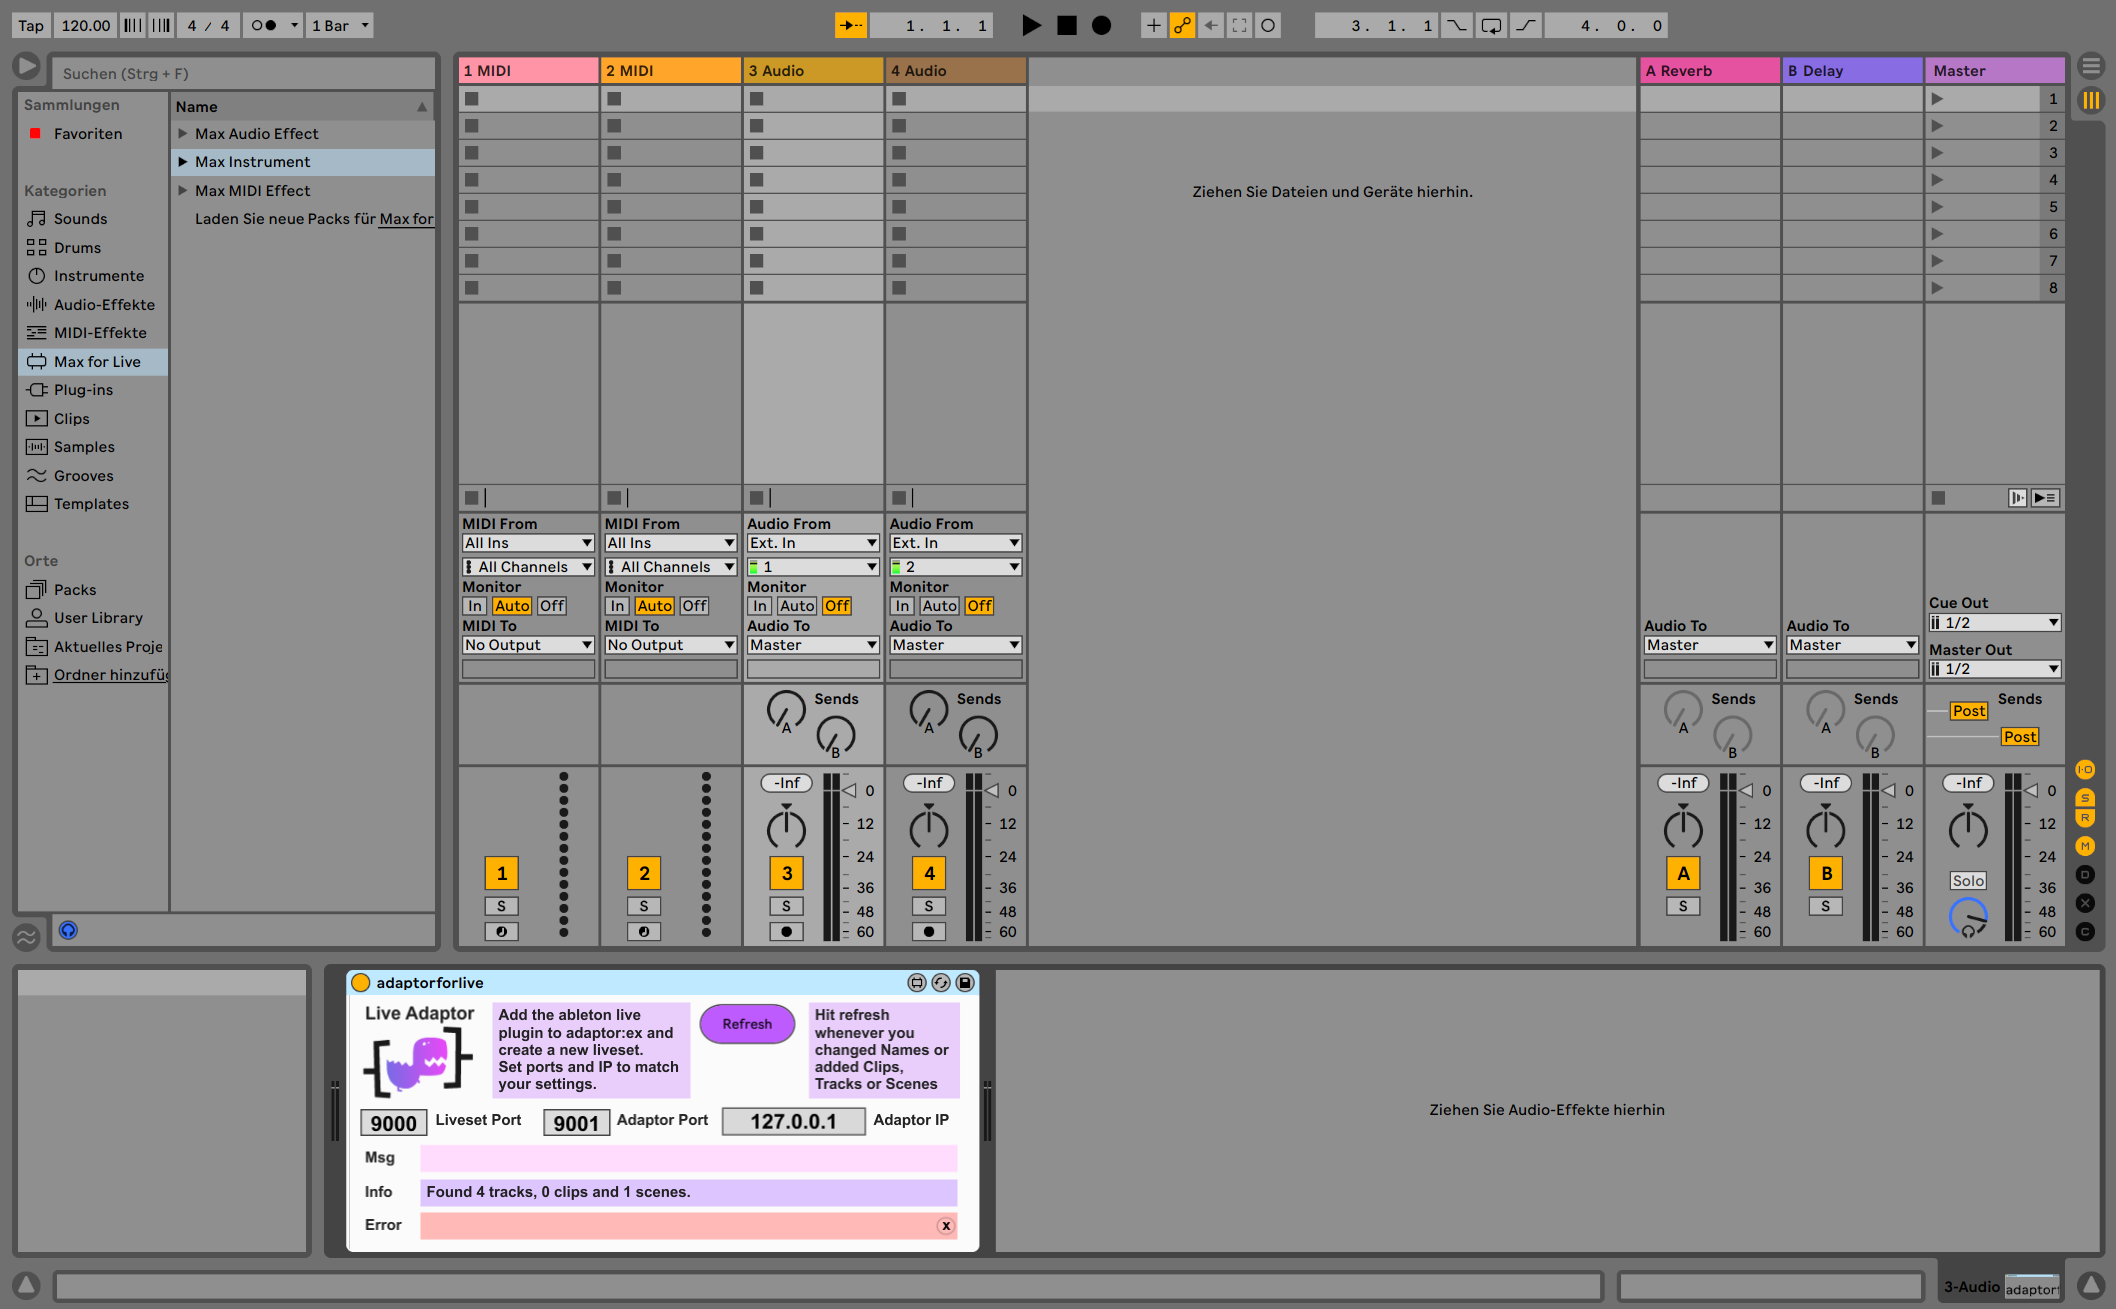
To control a Live Set with adaptor:ex, you need to include the max4live Ableton Live adaptor as an audio effect in the Live Set.
Download the max4live patch and the corresponding javascript file from the following gitlab repository: https://gitlab.com/machina_ex/adaptor_ex/ableton_live_adaptor

Unpack the archive and add the file adaptorforlive.amxd to any track in your Liveset as an audio effect by drag & drop.

Now go to 'Game > settings' in adaptor:ex and add the Ableton plugin.
Then create a new liveset.

Adjust the name of the new liveset. If you are only using one liveset, use the default ports. If the liveset is not running on the same machine as adaptor:ex, adjust the IP.
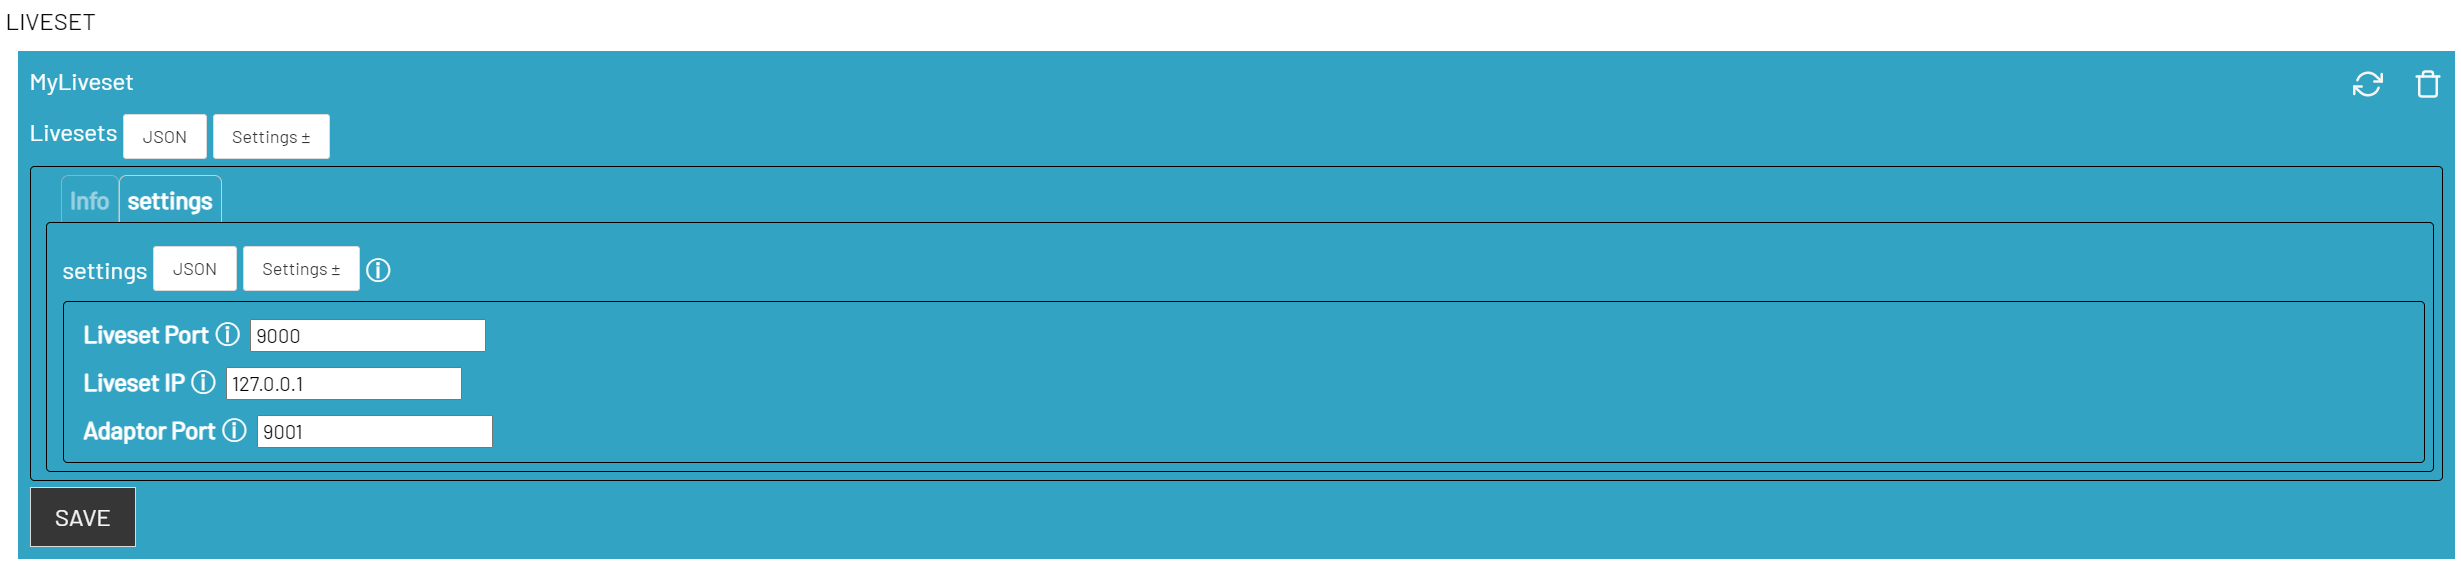
Press SAVE to create the liveset.
If you create more livesets, use a different liveset port and a different adaptor port to avoid conflicts. Use the same ports in the max4live audio effect as in the corresponding adaptor:ex liveset.
Actions
Now you can use Ableton Live actions to control your Live Set.
Start or stop single clips or entire tracks and scenes with
Change the mixer settings of individual tracks with
Update Liveset and Actions
As soon as you press the 'Refresh' button, all clips, tracks and scenes that you have created or added in the Liveset in the Session View will be available in the adaptor:ex actions.
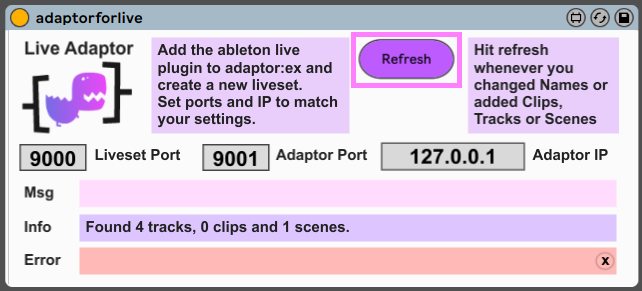
Use the 'Refresh' button again if you have made changes to the liveset.
Use Refresh also if you have created your liveset after you have included adaptorforlive in your liveset.