Licht kontrollieren mit adaptor eX und der ENTTEC DMXUSB Pro Box
adaptor:ex is part of the MACHINA COMMONS project and is funded in the programme "Digital Development in the Cultural Sector" of the Berlin Senate Department for Culture and Europe.
adaptor:ex is an open-source software engine that makes it possible to implement interactive theatre games and installations. A sub-area of this is the control of lighting systems via the DMX protocol.
Before you start:
We assume that you or a technician has already installed an adaptor:ex server instance on your computer and that you have access to the adaptor:ex user interface (the so-called client) via a browser.
Important: The USB-DMX-PRO-PLUGIN only works if it runs on a computer with USB ports and adaptor:ex has access to the USB ports of the computer (we recommend NOT using the docker installation, but installing it via npm or manually).
To go through this tutorial, you should already have dealt with the Basics of adaptor:ex. It is helpful, but not necessary, to have worked through the tutorial Storytelling with Telegram and adaptor eX.
You also need:
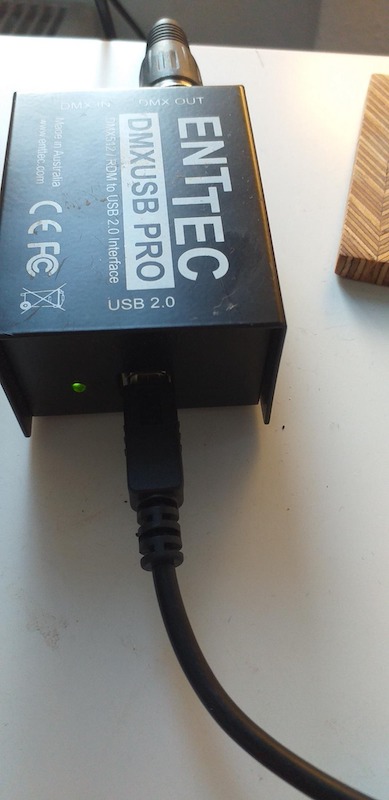
- an ENNTEC DMXUSBPRO box
- USB cable
- a suitable DMX cable
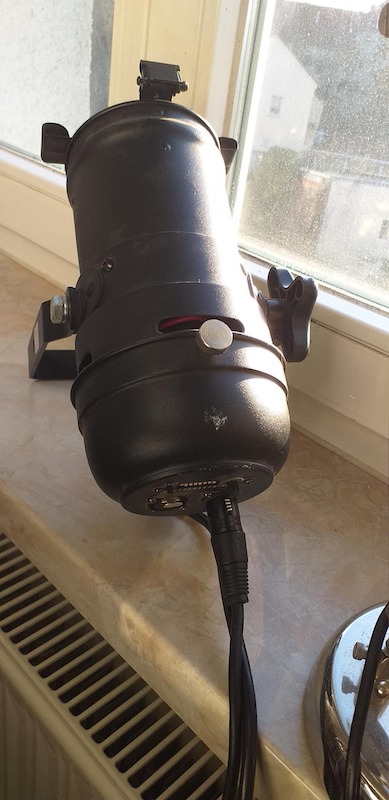
- a LED PAR that can be controlled with 4 DMX channels - we used the LedPar36 from Stairville in this tutorial but any other will do. (alternatively, you can of course connect a dimmer and control 3 different fixtures on channels 2-4).
Step by step
Add and configure plugin
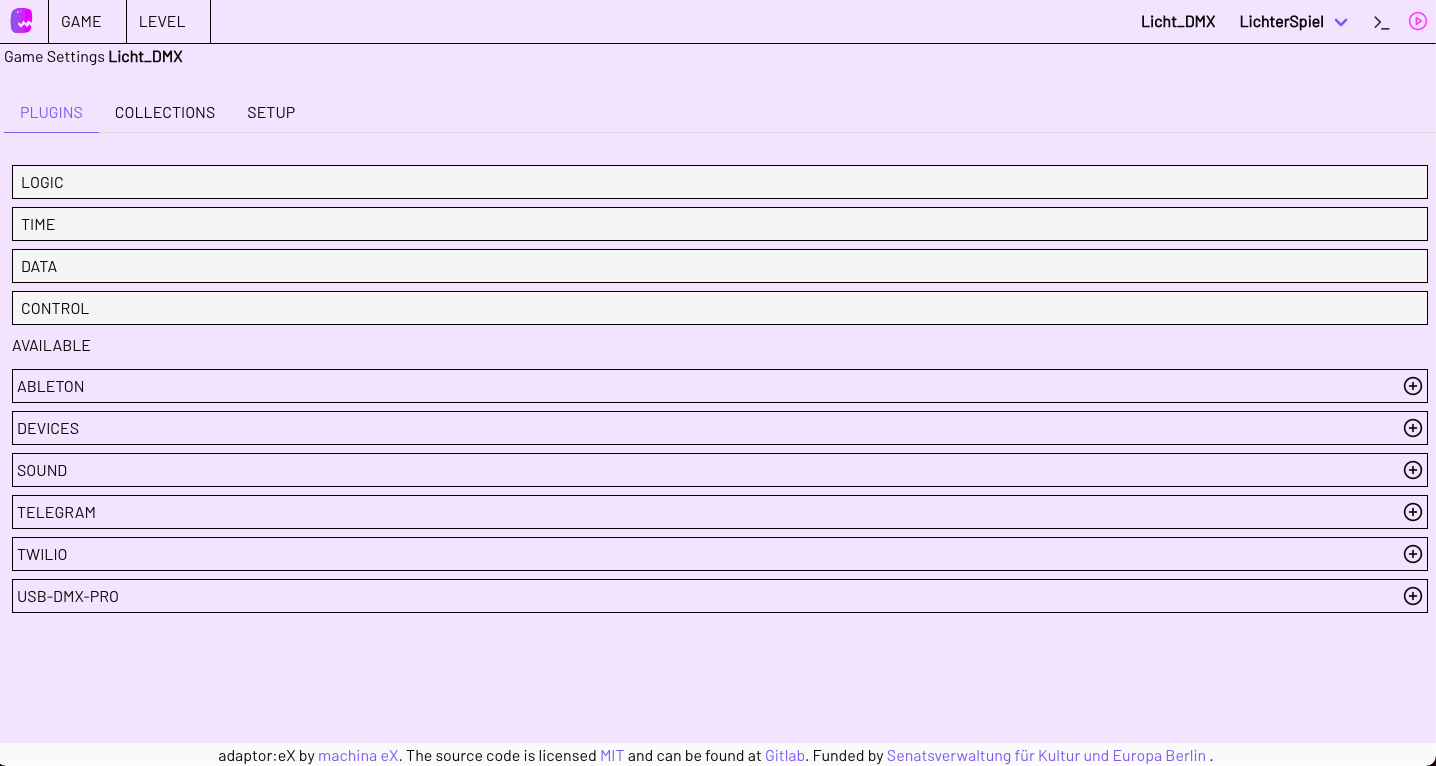
- Create a new game. Then select the settings under GAME > SETTINGS and add the USB-DMX-PRO plugin.
- Now connect your USB-DMX-PRO box with the USB cable to the computer on which the adaptor:ex server is running.

- in the Game Settings, click on the USB-DMX-PRO Plugin to expand it, click on the SETTINGS button, and mark serialPort.
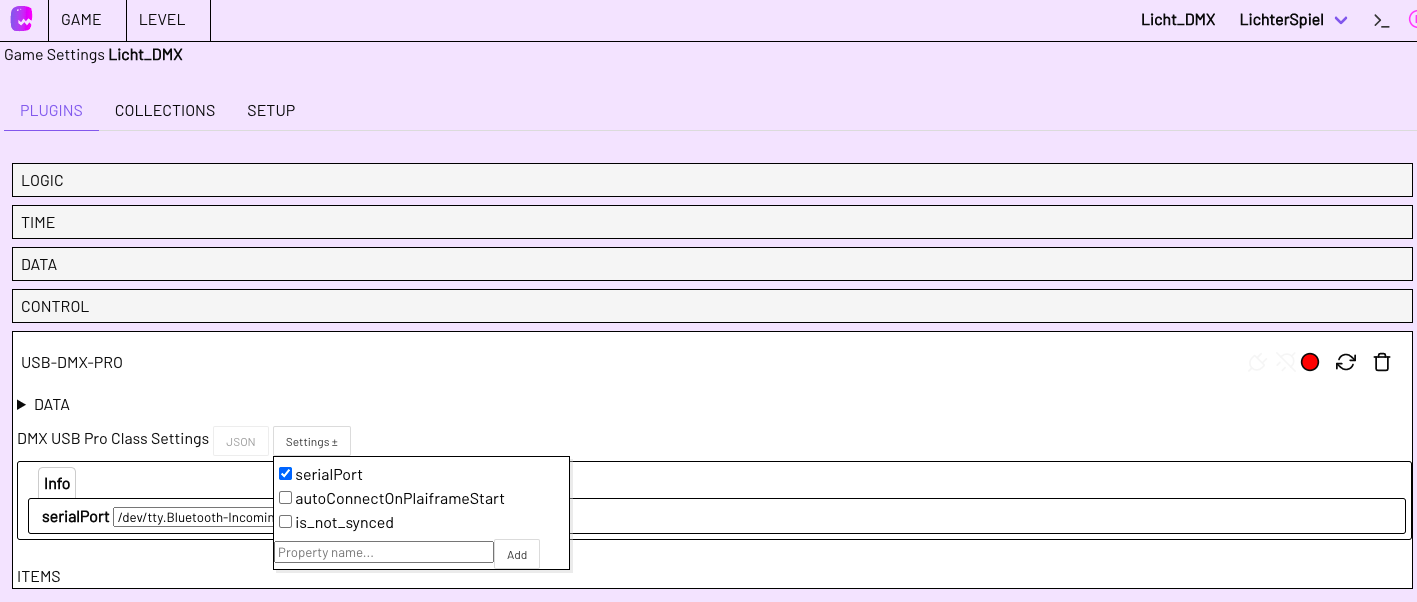
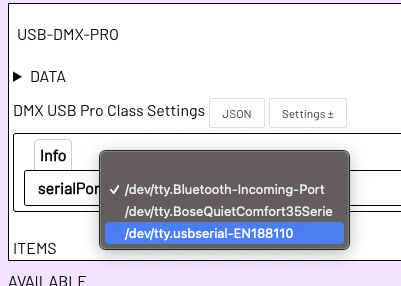
- Then select the correct port name in the form under 'serialPort' (on MacOS, for example, the ENTTEC DMX devices usually begin with 'EN').
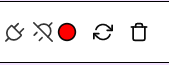
- Save the whole thing and then click on the CONNECT BUTTON (the one with the plug next to the red circle). If everything works, the circle next to it should now turn green. And the green LED on your DMX box should now flash.

<br>
You are now finished with the configuration.
Connecting lamps / DMX receiving devices
- Now connect your lamp to the power supply and to the USB-DMX-PRO box via DMX cable.
-
Under 'GAME > OVERVIEW' click on 'NEW LEVEL' and create a level with the name of your choice. We call ours
Lightshow. Then open the level in the level editor. -
Scroll down the ACTION BAR on the left. You will find the
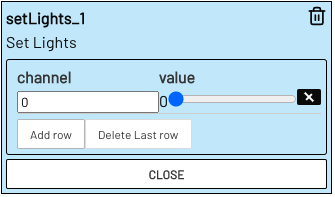
setLightsaction under USB-DMX-PRO. Drag it onto the stage and create your first state: We want to switch off the light at the beginning. So we call the first stateBLACK.

-
Connect the
STARTstate withBLACKby specifyingBLACKin theNEXT STATEaction inSTART. -
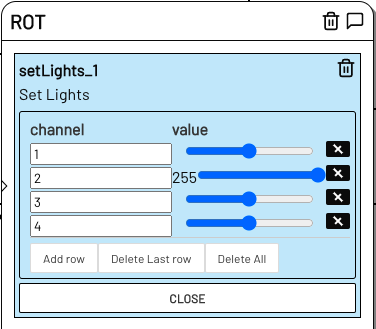
Now open
setLightsinBLACK. You will now see two columns: On the leftChannel, the DMX channel you want to control/change and on the right the value (0 at the time) at which you want to change the channel.Channel 1 must always remain at 0 for our fixture to remain in DMX mode. If you use another lamp or another DMX device such as a dimmer, this may work differently. It is best to find out which channels your lamp wants to be addressed on! In our case it is relatively simple: Channel 1 must be set to 0 so that the fixture can receive DMX signals, channel 2 is red, channel 3 is green and channel 4 is blue. In the further course of the tutorial, we will assume these settings and you will have to adapt the instructions to your fixture if necessary.
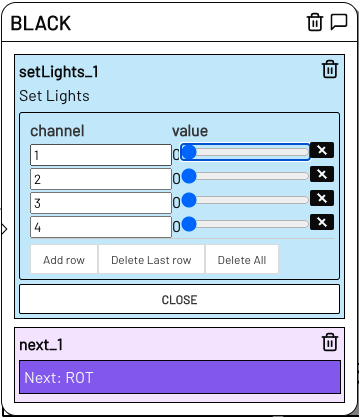
- Add three more channels with the
ADD ROWbutton. set all 4 channels (1,2,3,4) all to the value 0. NowBLACKis really black and turns off all colors of our RGB par.
-
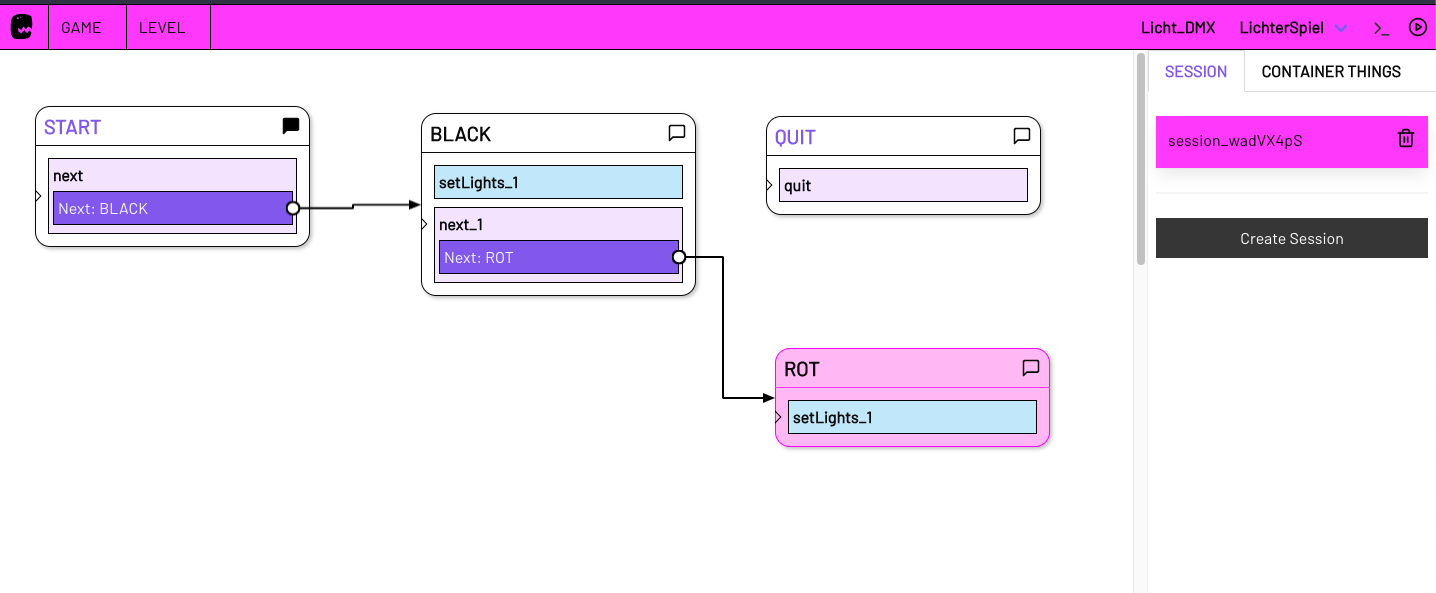
Now insert a
NEXTaction inBLACKand set the stateROTas the next state. This will be called directly after BLACK has switched off all lights. -
Now drag a new
setLightsaction onto the stage and create the stateROTwith it. To switch the lamp here to red light create again 4 DMX channels and set all to 0 except channel 2, whose value we set to 255 (very bright).
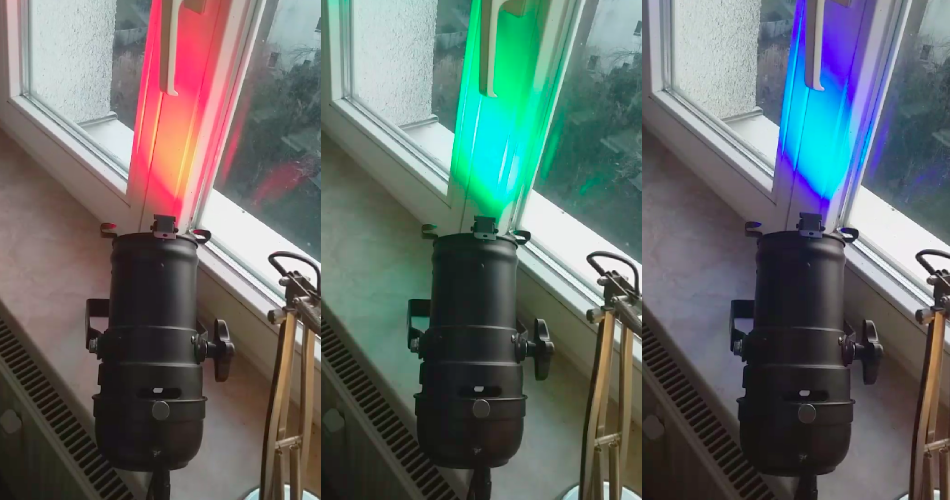
- Now it's time to finally make some light. Activate the live mode (red triangle in the upper right corner) and start a session. If everything is connected correctly, your DMX light should now glow red.

If this is not the case, check again all cable connections, the channel settings of the light and if all steps as described above worked.
Yay!!!! Light!
A light organ.
- Now add a
Timeoutaction in the stateROTand set the timeout to 2 seconds. As Next State createGREEN.

-
Repeat 8. - 11. for the states
GREENandBLACK, and modify the values accordingly (setLigthtsvalues for green are e.g. 0, 0, 255, 0 etc.) and in 10. with timeout connectGREENtoBLACKand finallyBLACKtoBLACK.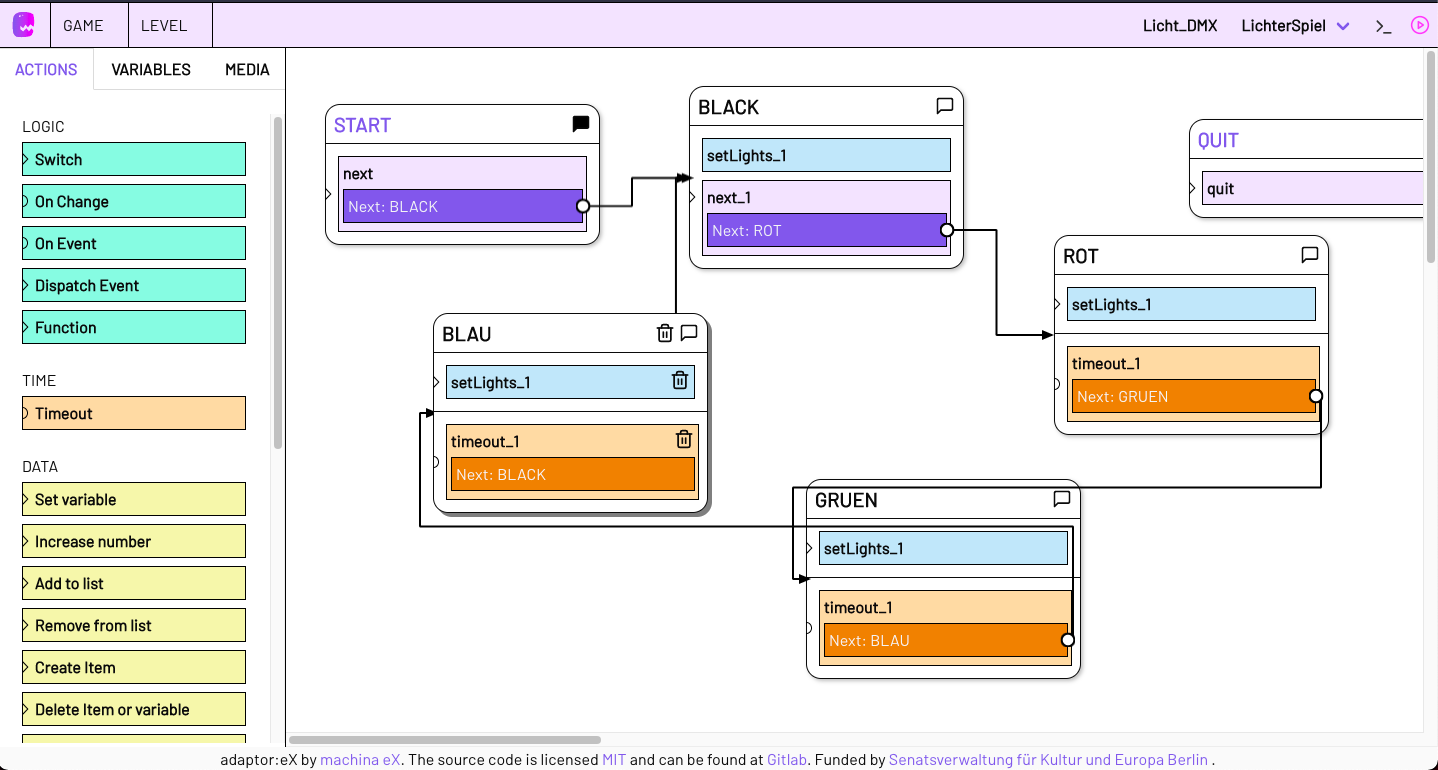
-
Now you have created a circular structure where every 2 seconds the light changes from RED to GREEN to BLUE. Try it out: Start a new session and admire your light organ.
How to continue
You now know how to control light with adaptor:ex via a USB-DMX-PRO box. Of course you can build anything with it. For example, you could look at the Telegram tutorials and control lights via Telegram messanger, or you could look at how to connect Arduinos or other devices to adaptor:ex and then network them with a whole lighting system in your stage. We're sure you'll come up with more than us soon!